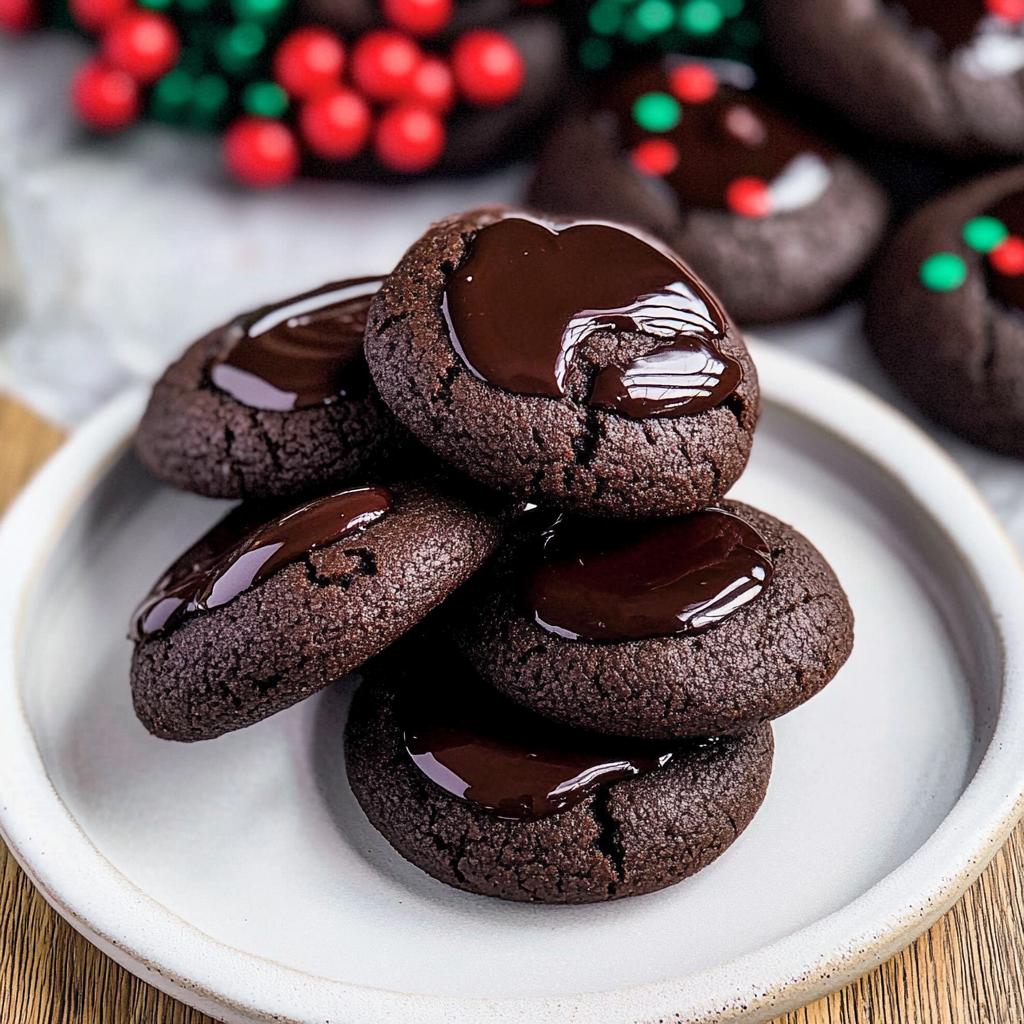
Chocolate Thumbprint Cookies are like little bites of pure happiness that melt in your mouth, leaving behind a trail of sweet, chocolatey joy. Imagine biting into a soft, buttery cookie with a gooey chocolate center that feels like a warm hug on a cold day. These delightful treats are perfect for any occasion, be it a cozy family gathering or an extravagant holiday celebration. Just the thought of them brings back memories of baking sessions with my grandmother, who had an uncanny ability to turn ordinary ingredients into magical moments.
You can almost smell the rich aroma wafting through your kitchen as you prepare these Chocolate Thumbprint Cookies. The anticipation builds as you imagine serving them at your next gathering, where friends and family will gather around, eagerly reaching for another cookie while letting out satisfied sighs of delight. Trust me; these cookies will have everyone asking for the recipe—and you can proudly share it as if you’ve been slaving over it for hours (but we both know it’s a breeze).
[love_box title=”Why You’ll Love This Chocolate Thumbprint Cookies”] These incredible Chocolate Thumbprint Cookies transform simple everyday ingredients into restaurant-quality flavors that will blow your mind completely. Foolproof recipe techniques guarantee perfect results every single time, making even novice cooks feel like professional chefs instantly. Stunning visual appeal with gorgeous colors and mouthwatering aromas creates the ultimate Instagram-worthy dish for any special occasion. Endlessly adaptable for different dietary needs while working beautifully for meal prep, date nights, or entertaining large groups effortlessly.[/love_box]
What You’ll Need
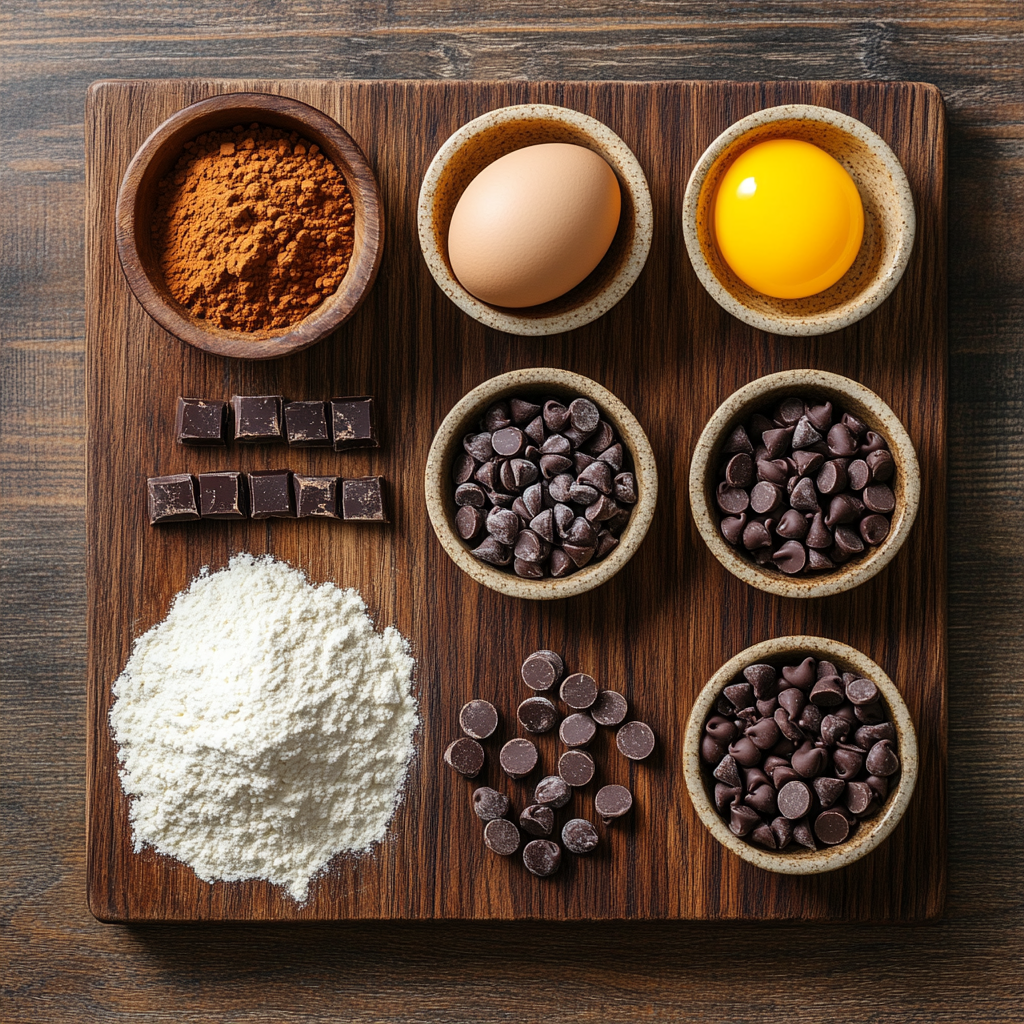
Here’s what you’ll need to make this delicious Chocolate Thumbprint Cookies:
- All-Purpose Flour: The base of our cookies! Make sure it’s fresh for the best texture and flavor.
- Unsweetened Cocoa Powder: This adds the deep chocolate flavor—don’t skimp!
- Granulated Sugar: Sweetness is key. Use fine sugar to ensure it mixes well.
- Butter: Use unsalted butter for better control over saltiness; room temperature is ideal.
- Egg Yolk: This helps bind everything together and adds richness.
- Vanilla Extract: A must-have for that aromatic depth—pure vanilla is worth it!
- Chocolate Chips: Semi-sweet or dark—your choice! They create the gooey thumbprint center.
The full ingredients list, including measurements, is provided in the recipe card directly below.
Cooking Instructions
Follow these simple steps to prepare this delicious Chocolate Thumbprint Cookies:
Step 1: Preheat and Prepare
Preheat your oven to 350°F (175°C). Line a baking sheet with parchment paper to prevent sticking while baking.
Step 2: Mix Dry Ingredients
In a mixing bowl, whisk together flour, cocoa powder, and salt until well combined. Set aside so those flavors can mingle.
Step 3: Cream Butter and Sugar
In another bowl, cream together the softened butter and granulated sugar until light and fluffy—this should take about three minutes. Just think of all that sweet goodness!
Step 4: Add Eggs and Vanilla
Mix in the egg yolk and vanilla extract until fully incorporated. Your kitchen should now smell divine!
Step 5: Combine Everything
Gradually add the dry mixture into the wet ingredients. Stir until just combined—don’t overmix; we want our cookies to be tender.
Step 6: Form Cookies
Scoop tablespoon-sized balls of dough onto your prepared baking sheet. Press your thumb gently into each ball to create an indent—the “thumbprint” if you will!
Step 7: Bake with Love
Bake in the preheated oven for about 10-12 minutes or until set but still soft in the center. Remove from oven and let cool slightly before filling those delightful indents with melted chocolate chips.
Transfer to plates and serve up those gorgeous cookies that are sure to bring smiles all around! Enjoy these Chocolate Thumbprint Cookies with a hot cup of coffee or milk; it’s practically mandatory!
 [love_box title=”You Must Know About Chocolate Thumbprint Cookies”] This showstopping Chocolate Thumbprint Cookies delivers restaurant-quality results using simple ingredients you probably already have at home. The perfect balance of textures and flavors creates an unforgettable dining experience that will have everyone asking for seconds. Picture-perfect presentation with vibrant colors makes this dish absolutely Instagram-worthy and guaranteed to impress any dinner guest. Incredibly versatile recipe that works beautifully for weeknight dinners, meal prep, special occasions, or even outdoor entertaining sessions.[/love_box]
Perfecting Cooking Process
To create the ultimate Chocolate Thumbprint Cookies, start by preheating your oven. Then, mix the dough while allowing the butter to soften. Once the dough is ready, roll it into balls and make those delightful thumbprints before baking them to chocolatey perfection.
Flavor Your Way
Feel free to get creative! Swap out traditional chocolate for white chocolate or add a dash of espresso powder for a mocha twist. You can also experiment with different jams or fillings in the center – raspberry is always a hit!
Storing & Reheating
Store your Chocolate Thumbprint Cookies in an airtight container at room temperature for up to a week. If you want to savor them longer, freeze them for up to three months. Just let them thaw at room temperature when you’re ready to enjoy!
[love_box title=”Chef’s Helpful Tips for Chocolate Thumbprint Cookies”] This professional-quality Chocolate Thumbprint Cookies relies on precise timing and temperature control to achieve restaurant-standard results consistently. Master the art of mise en place by prepping all ingredients beforehand, ensuring smooth execution and preventing any last-minute cooking disasters. The secret lies in layering flavors throughout the cooking process rather than seasoning only at the end for maximum depth. Pro tip: let the finished dish rest for optimal texture and flavor development before serving to hungry guests waiting eagerly.[/love_box]
Baking these cookies reminds me of the time I brought them to a family gathering. Everyone raved about how delicious they were, especially my aunt who insisted she could eat them all day long!
FAQs
What are Chocolate Thumbprint Cookies?
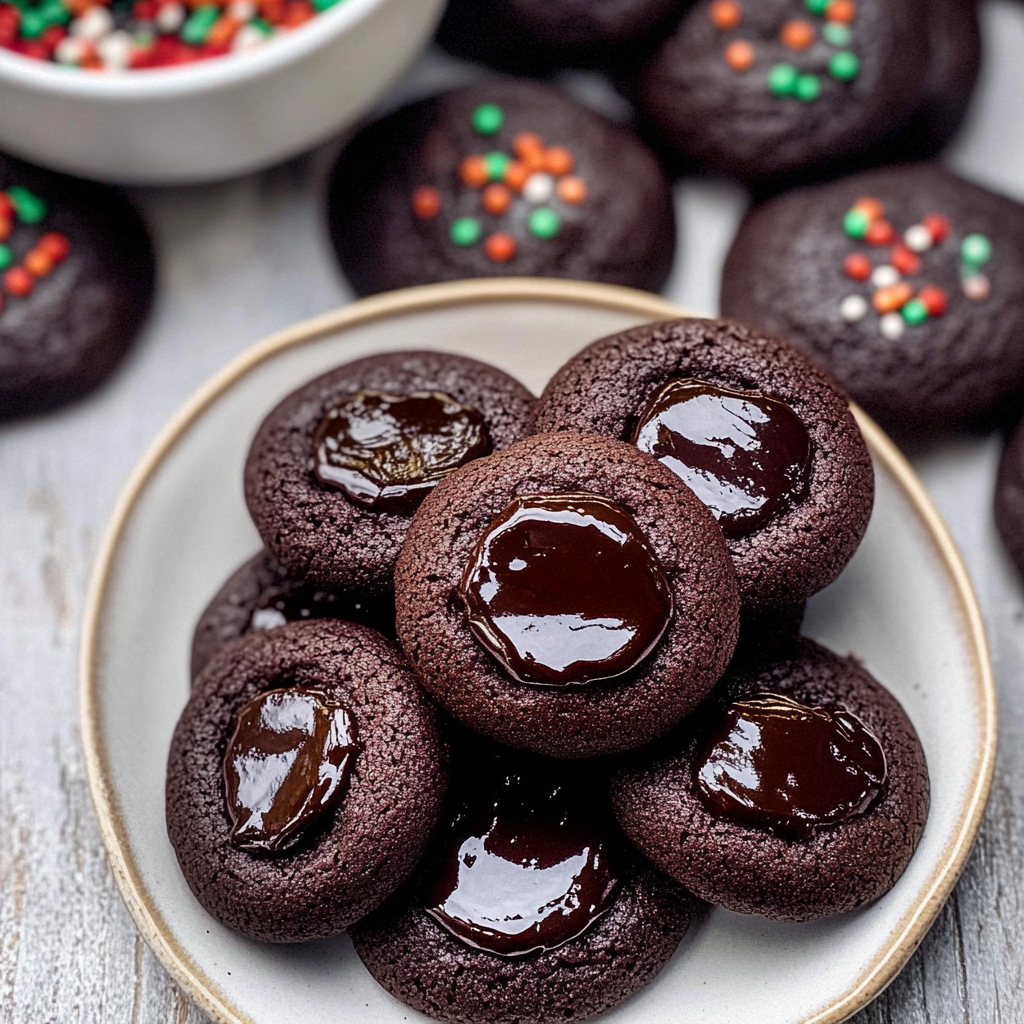
Chocolate Thumbprint Cookies are delightful treats featuring a rich, chocolatey base with a sweet surprise in the center. These cookies get their name from the thumbprint indentation made before baking, which holds a dollop of jam or chocolate filling. They offer a perfect balance of soft and chewy textures and are often enjoyed during holidays or special occasions. The combination of flavors makes Chocolate Thumbprint Cookies a favorite among cookie lovers of all ages.
How do you make Chocolate Thumbprint Cookies?
To make Chocolate Thumbprint Cookies, start by combining flour, cocoa powder, sugar, and butter to create a dough. Once mixed, scoop out portions and roll them into balls. Use your thumb to create an indentation in each ball, then fill it with your chosen jam or melted chocolate. Bake in a preheated oven until set but still soft. Let them cool before serving to achieve the ultimate indulgence.
Can I customize my Chocolate Thumbprint Cookies?
Absolutely! You can customize your Chocolate Thumbprint Cookies by experimenting with different fillings such as fruit preserves, nut butter, or even caramel. Additionally, you can enhance the cookie dough by adding nuts, spices like cinnamon, or substituting white chocolate for darker varieties. These variations allow you to create unique flavors that suit your taste preferences.
How should I store Chocolate Thumbprint Cookies?
To keep your Chocolate Thumbprint Cookies fresh, store them in an airtight container at room temperature for up to one week. If you want to extend their shelf life, consider freezing them. Just ensure they are cooled completely before wrapping them tightly in plastic wrap and placing them in a freezer-safe bag. Thaw them at room temperature when you’re ready to enjoy these delicious cookies again.
Conclusion
Chocolate Thumbprint Cookies are a delightful treat that combines rich chocolate flavor with sweet fillings for an irresistible dessert experience. With easy customization options and straightforward storage methods, these cookies can become a staple in any home baker’s recipe collection. Whether enjoyed during holidays or as an everyday snack, the joy of making and sharing Chocolate Thumbprint Cookies is unmatched. Embrace the sweetness and get creative with your fillings for memorable moments!

Chocolate Thumbprint Cookies
- Total Time: 27 minutes
- Yield: Approximately 18 cookies 1x
Description
Chocolate Thumbprint Cookies are an indulgent treat that perfectly balances a soft, buttery cookie base with a rich, gooey chocolate center. These delectable bites are ideal for any occasion, from casual family gatherings to festive celebrations. With simple ingredients and easy-to-follow instructions, you can create these delightful cookies that are sure to impress everyone at the table!
Ingredients
- 1 cup all-purpose flour
- 1/3 cup unsweetened cocoa powder
- 1/2 cup granulated sugar
- 1/2 cup unsalted butter (softened)
- 1 large egg yolk
- 1 tsp vanilla extract
- 1/2 cup chocolate chips (semi-sweet or dark)
Instructions
- Preheat your oven to 350°F (175°C) and line a baking sheet with parchment paper.
- In a bowl, whisk together flour, cocoa powder, and a pinch of salt. Set aside.
- In another bowl, cream the softened butter and sugar until light and fluffy (about 3 minutes).
- Mix in the egg yolk and vanilla extract until combined.
- Gradually add the dry mixture to the wet ingredients until just combined; avoid overmixing.
- Scoop tablespoon-sized portions of dough onto the prepared baking sheet, pressing your thumb into each ball to create an indentation.
- Bake for 10-12 minutes until set but soft in the center. Cool slightly before filling each indent with chocolate chips.
- Prep Time: 15 minutes
- Cook Time: 12 minutes
- Category: Dessert
- Method: Baking
- Cuisine: American
Nutrition
- Serving Size: 1 serving
- Calories: 120
- Sugar: 9g
- Sodium: 50mg
- Fat: 7g
- Saturated Fat: 4g
- Unsaturated Fat: 3g
- Trans Fat: 0g
- Carbohydrates: 14g
- Fiber: 1g
- Protein: 2g
- Cholesterol: 15mg