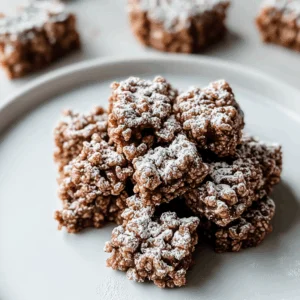
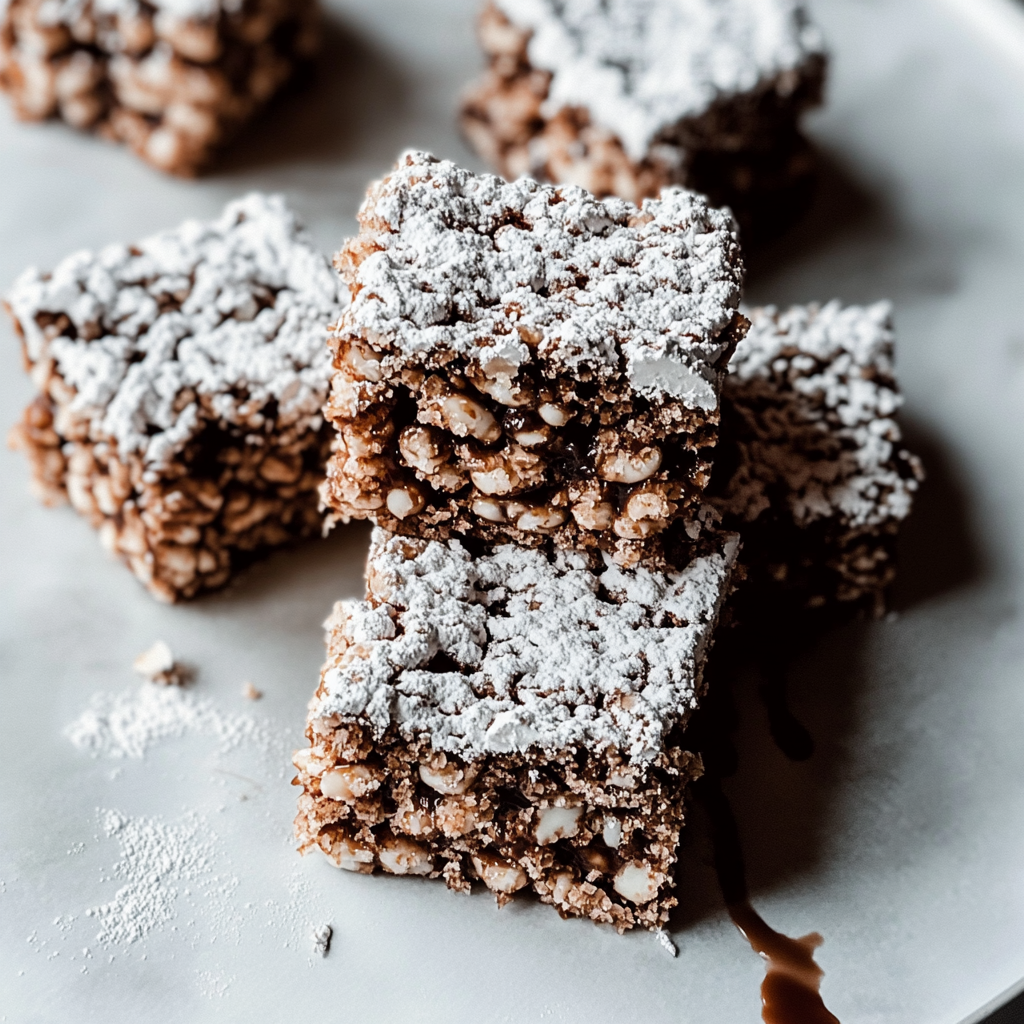
The delightful crunch of Muddy Buddy Rice Krispies takes you back to childhood afternoons filled with laughter and sticky fingers. Imagine the sweet, chocolatey goodness mingling with a hint of peanut butter, all wrapped around crispy rice cereal—it’s a nostalgic treat that dances on your taste buds and warms your heart.
As I was rummaging through my pantry one rainy day, I stumbled upon some Rice Krispies and a half-empty jar of peanut butter. It dawned on me that these two could have a glorious union. And thus, the idea for Muddy Buddy Rice Krispies was born! Perfect for parties, family gatherings, or just a cozy night in with Netflix, this recipe is bound to become your new go-to snack.
[love_box title=”Why You’ll Love This Muddy Buddy Rice Krispies”] This incredible Muddy Buddy Rice Krispies transforms simple everyday ingredients into restaurant-quality flavors that will blow your mind completely. Foolproof recipe techniques guarantee perfect results every single time, making even novice cooks feel like professional chefs instantly. Stunning visual appeal with gorgeous colors and mouthwatering aromas creates the ultimate Instagram-worthy dish for any special occasion. Endlessly adaptable for different dietary needs while working beautifully for meal prep, date nights, or entertaining large groups effortlessly.[/love_box]
What You’ll Need
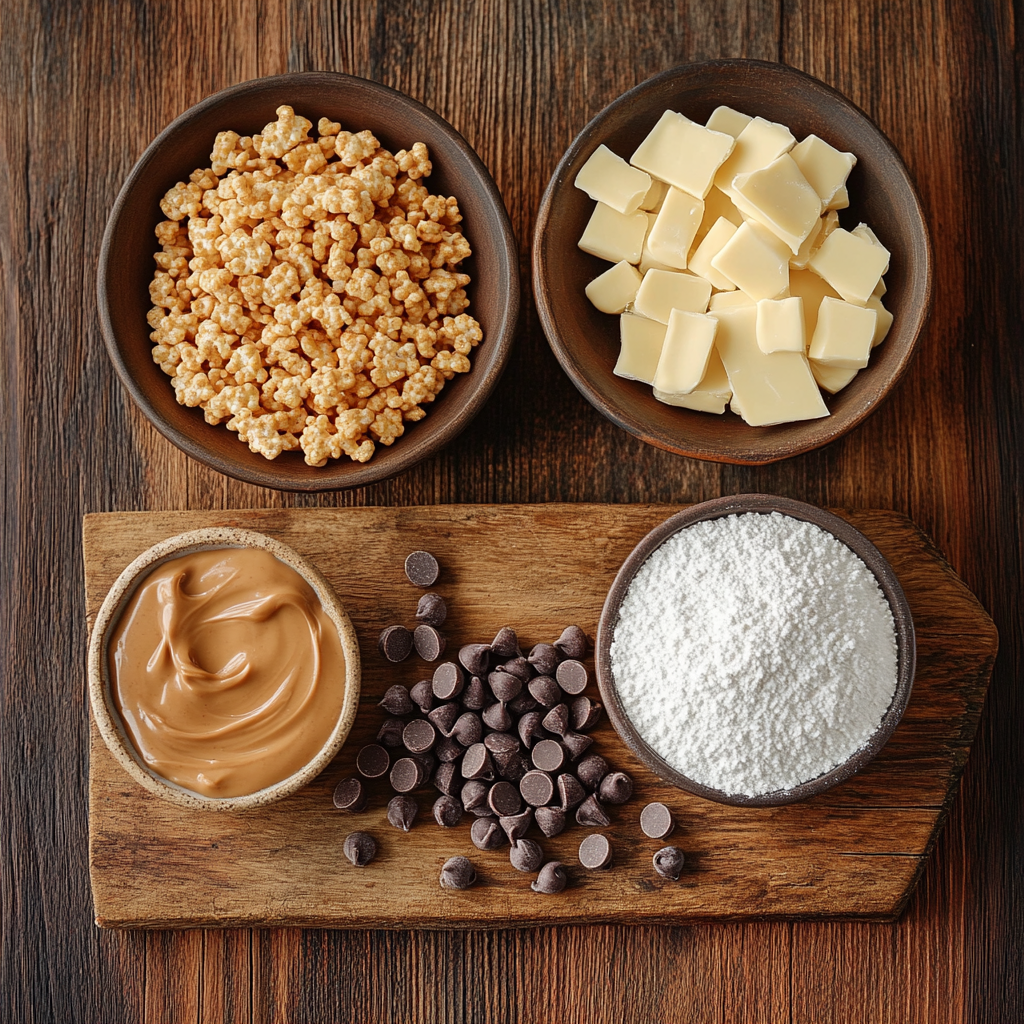
Here’s what you’ll need to make this delicious Muddy Buddy Rice Krispies:
- Rice Krispies: The star of the show! These crispy little guys provide the perfect texture and crunch.
- Chocolate Chips: Use semi-sweet or milk chocolate chips depending on your preference for sweetness.
- Peanut Butter: Creamy peanut butter works best to create that rich flavor; natural varieties can be used but may require stirring.
- Powdered Sugar: This sweet dusting is essential for that signature “muddy” look and taste.
- Butter: A little bit of butter adds richness to the mixture; opt for unsalted to control the overall saltiness.
The full ingredients list, including measurements, is provided in the recipe card directly below.
Cooking Instructions
Follow these simple steps to prepare this delicious Muddy Buddy Rice Krispies:
Step 1: Prepare Your Workspace
Clear a large working area and gather all your ingredients. Grab a big mixing bowl because things are about to get messy!
Step 2: Melt Chocolate and Peanut Butter
In a microwave-safe bowl, combine chocolate chips and peanut butter. Microwave in short bursts of about 30 seconds until melted and smooth. Stir between each interval to avoid any chocolate disasters.
Step 3: Mix in the Cereal
Once you have that beautiful gooey mixture ready, pour it over the Rice Krispies in your mixing bowl. Gently fold until every crispy piece is coated in chocolaty goodness.
Step 4: Add the Butter
Melt some butter in the microwave (about another 20 seconds should do it) and mix it into your cereal mixture until well combined.
Step 5: Coat with Powdered Sugar
Now comes the fun part! Sprinkle powdered sugar over the mixture while tossing gently to coat evenly. It’s like giving your treat a winter wonderland makeover!
Step 6: Set and Serve
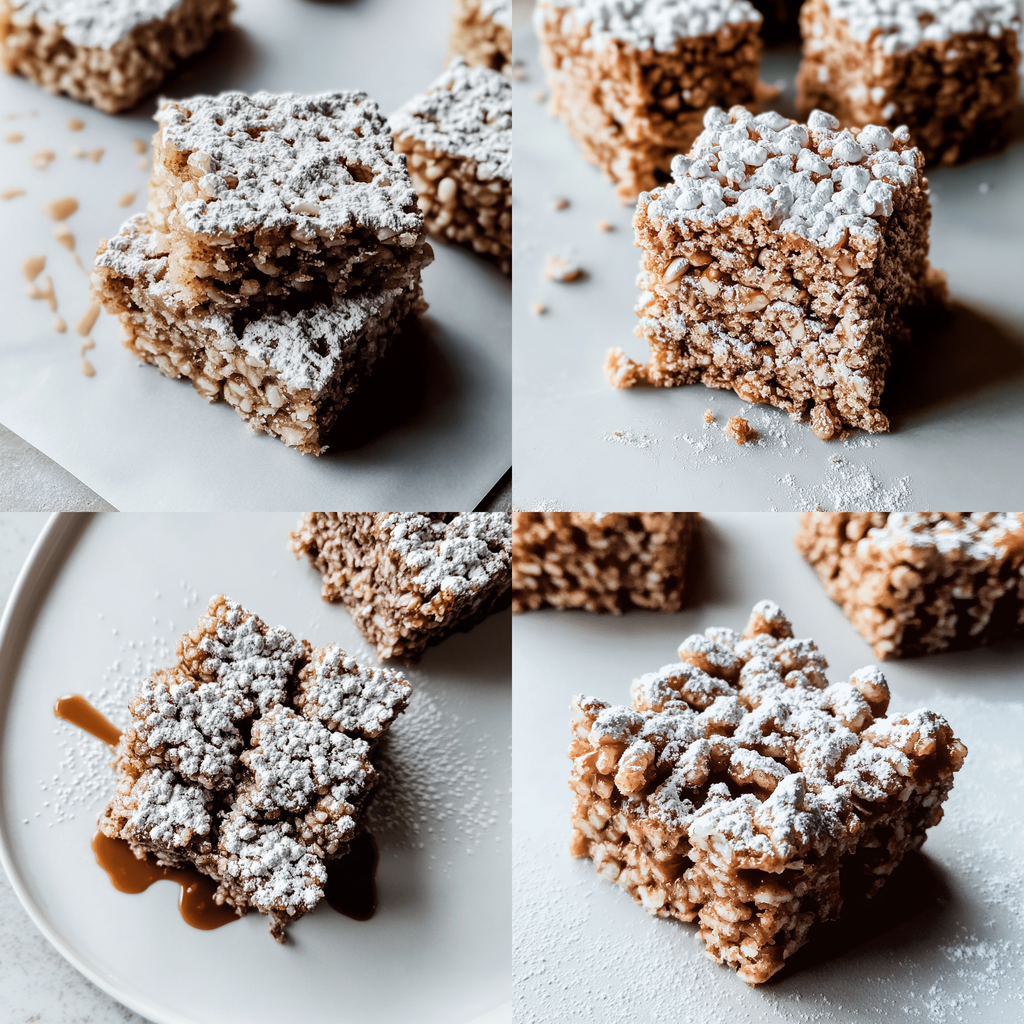
Transfer everything into a greased baking dish (or just line it with parchment paper if you’re fancy). Press down firmly so everything sticks together nicely. Let it set at room temperature for about an hour before cutting it into squares or bars.
Now you have a delightful batch of Muddy Buddy Rice Krispies ready to impress friends or devour solo while binge-watching your favorite show! Transfer them to plates and watch them disappear as quickly as they appeared.
There you have it—Muddy Buddy Rice Krispies that are not only delicious but also bring back those cherished memories of simpler times. Whether you’re enjoying them during movie nights or packing them as snacks for outings, they’re sure to bring smiles all around!
 [love_box title=”You Must Know About Muddy Buddy Rice Krispies”] This showstopping Muddy Buddy Rice Krispies delivers restaurant-quality results using simple ingredients you probably already have at home. The perfect balance of textures and flavors creates an unforgettable dining experience that will have everyone asking for seconds. Picture-perfect presentation with vibrant colors makes this dish absolutely Instagram-worthy and guaranteed to impress any dinner guest. Incredibly versatile recipe that works beautifully for weeknight dinners, meal prep, special occasions, or even outdoor entertaining sessions.[/love_box]
Perfecting Cooking Process
Start by melting the chocolate and peanut butter together while simultaneously preparing your Rice Krispies. Once melted, mix in the cereal and then coat with powdered sugar. This sequence keeps everything smooth and ensures a delightful crunch.
Flavor Your Way
Feel free to customize your Muddy Buddy Rice Krispies by adding crushed nuts, sprinkles, or even a dash of cinnamon for a fun twist. The possibilities are endless, so let your creativity shine through!
Storing & Reheating
To store your Muddy Buddy Rice Krispies, keep them in an airtight container at room temperature for up to a week. Reheating isn’t necessary; just enjoy them as they are!
[love_box title=”Chef’s Helpful Tips for Muddy Buddy Rice Krispies”] This professional-quality Muddy Buddy Rice Krispies relies on precise timing and temperature control to achieve restaurant-standard results consistently. Master the art of mise en place by prepping all ingredients beforehand, ensuring smooth execution and preventing any last-minute cooking disasters. The secret lies in layering flavors throughout the cooking process rather than seasoning only at the end for maximum depth. Pro tip: let the finished dish rest for optimal texture and flavor development before serving to hungry guests waiting eagerly.[/love_box]
I remember the first time I made Muddy Buddy Rice Krispies; my friends devoured them in minutes! Their laughter filled the kitchen as they fought over the last piece—an unforgettable evening filled with sweet chaos and sticky fingers.
FAQs
What is Muddy Buddy Rice Krispies?
Muddy Buddy Rice Krispies are a delightful twist on the classic muddy buddy treat, combining the crunch of Rice Krispies with the creamy, chocolaty flavors that everyone loves. This no-bake dessert features a mix of melted chocolate, peanut butter, and powdered sugar, all generously coated over crispy rice cereal. These treats are perfect for parties or as an everyday snack. With their sweet and salty taste, Muddy Buddy Rice Krispies quickly become a favorite among both kids and adults alike.
How do you make Muddy Buddy Rice Krispies?
Making Muddy Buddy Rice Krispies is simple and fun! Start by melting chocolate chips and peanut butter together in a microwave-safe bowl. Once smooth, pour this mixture over your Rice Krispies in a large bowl. Gently stir until each piece is evenly coated. Then, add powdered sugar to create a sweet coating. Spread the mixture onto a baking sheet to cool before breaking it into bite-sized pieces. The entire process takes less than 30 minutes!
Can I customize my Muddy Buddy Rice Krispies?
Absolutely! You can customize your Muddy Buddy Rice Krispies by adding your favorite mix-ins. Consider including mini marshmallows, M&M’s, or nuts for extra texture and flavor. You can also experiment with different types of chocolate such as white chocolate or dark chocolate to give it a unique twist. Don’t hesitate to get creative; these treats are versatile and can cater to various tastes!
How should I store Muddy Buddy Rice Krispies?
To keep your Muddy Buddy Rice Krispies fresh, store them in an airtight container at room temperature. This way, they will stay crunchy and delicious for up to one week. If you want to extend their shelf life, you can refrigerate them; however, this may change their texture slightly. Make sure they are completely cooled before sealing them up to prevent moisture buildup.
Conclusion
Muddy Buddy Rice Krispies offer a fun and tasty treat that is incredibly easy to make. With just a few ingredients like chocolate, peanut butter, and Rice Krispies, you can whip up these delicious snacks in no time. Customize them with your favorite add-ins for even more flavor! Remember to store them properly so you can enjoy their delightful crunch throughout the week. Whether for parties or casual snacking, Muddy Buddy Rice Krispies are sure to please everyone!

Muddy Buddy Rice Krispies
- Total Time: 0 hours
- Yield: Approximately 12 servings 1x
Description
Muddy Buddy Rice Krispies are a delightful fusion of crunchy Rice Krispies coated in a rich blend of chocolate and creamy peanut butter. This nostalgic no-bake treat is perfect for sharing at parties, family gatherings, or enjoying during cozy nights on the couch. With just a few simple ingredients, you can whip up this indulgent snack that will satisfy your sweet tooth and bring smiles to everyone around.
Ingredients
- 4 cups Rice Krispies
- 1 cup semi-sweet chocolate chips
- 1/2 cup creamy peanut butter
- 1 cup powdered sugar
- 1/4 cup unsalted butter
Instructions
- Clear and prepare your workspace by gathering all ingredients.
- In a microwave-safe bowl, combine chocolate chips and peanut butter. Microwave in 30-second intervals until melted and smooth, stirring in between.
- Pour the chocolate-peanut butter mixture over the Rice Krispies in a large mixing bowl. Gently fold until all cereal pieces are evenly coated.
- Melt the unsalted butter in the microwave (about 20 seconds) and mix it into the cereal mixture until well combined.
- Sprinkle powdered sugar over the mixture while tossing gently to coat evenly.
- Transfer to a greased baking dish or one lined with parchment paper, pressing down firmly. Let it set at room temperature for about an hour before cutting into squares.
- Prep Time: 10 minutes
- Cook Time: None
- Category: Dessert
- Method: No-Bake
- Cuisine: American
Nutrition
- Serving Size: 1 square (30g)
- Calories: 140
- Sugar: 12g
- Sodium: 50mg
- Fat: 7g
- Saturated Fat: 3g
- Unsaturated Fat: 4g
- Trans Fat: 0g
- Carbohydrates: 17g
- Fiber: 0g
- Protein: 2g
- Cholesterol: 5mg